By Yiming Li
It feels good to be back on Coding.
This is a very short project to create interactive installations through machine learning techniques.The first two months of Year3 were very fast paced and the project was very serious and intense, so for this project I decided to relax a little bit and do something fun with the code.
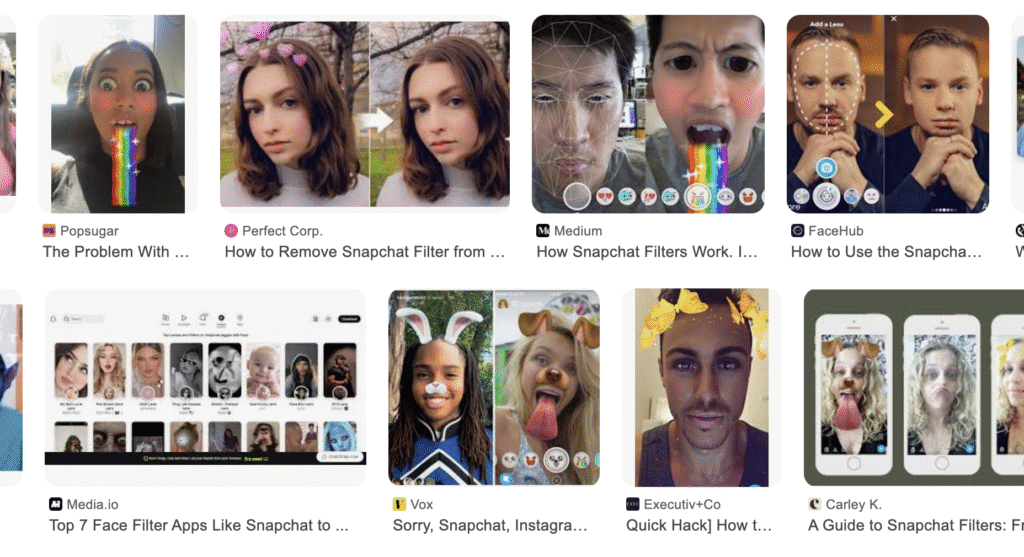
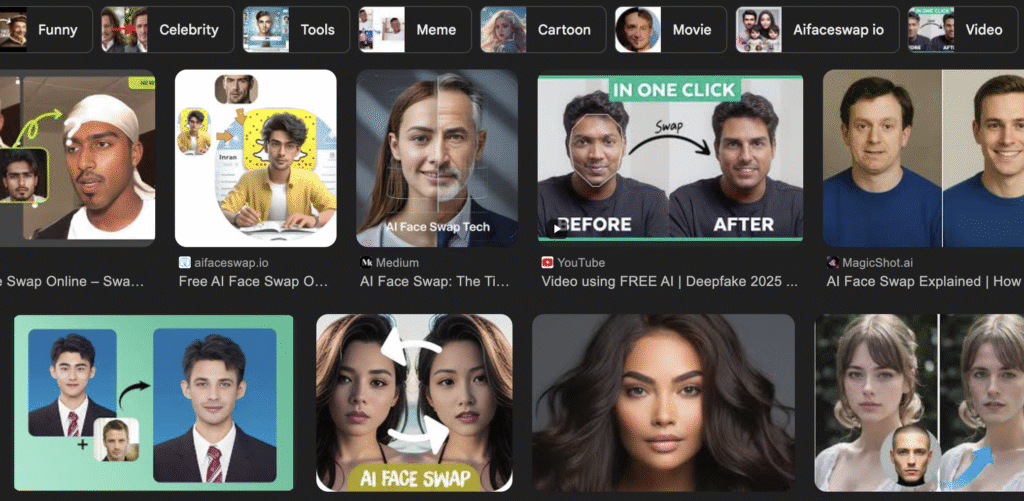
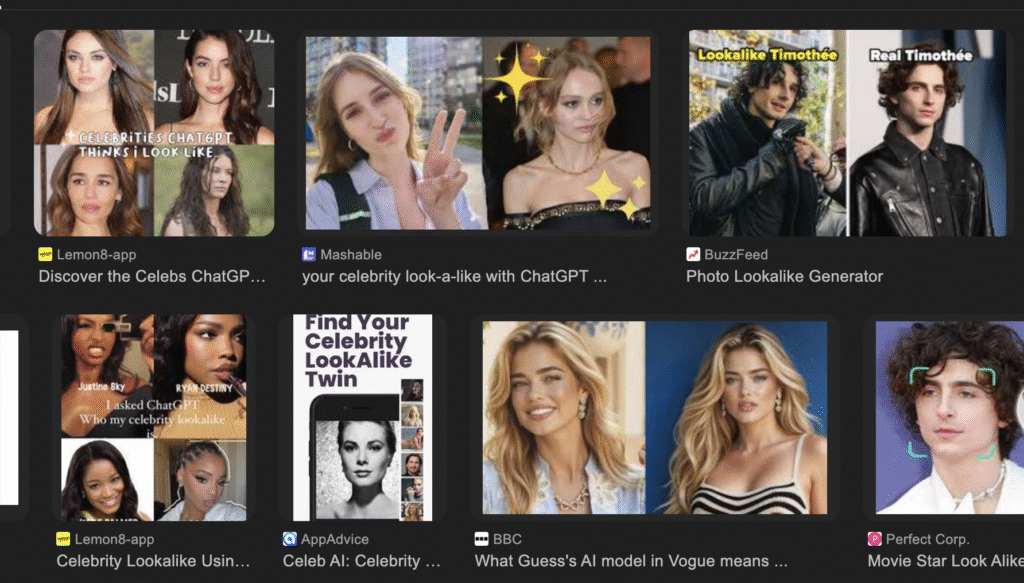
Have you ever tried a special AI model that can ‘judge which celebrity you look like based on your looks’? It’s probably a showy feature introduced by the company to showcase the powerful algorithms and autonomous learning capabilities behind its AI. My friend and I have tried it a few times, and we’ve always been pleased with the results – after all, if someone said I looked like Tom Cruise, I’d take it as a compliment. At the same time, the AI will also produce an analysis for you that explains in detail why you look like the star, such as the size of your nose, the length of your eyes, the width of your cheeks, and so on. Honestly most people would take this test rightly as entertainment, after all these stats can be completely fabricated (they look like fabrications too, Tom and I don’t have the same eye size at all). But it gives me some ideas, the algorithm used by AI is somehow the same as Teachable Machine (not exactly the same, I’ll explain that later), and based on that I can do some interesting stuff too.
Basically, what I’m going to do is an interaction procedure that uses the data provided by a model trained by Teachable Machine to displace faces via Face Mesh in Ml5.js. The fun bit is that I’m training it with various celebrities, which means that your face will be replaced with a celebrity’s face as well.
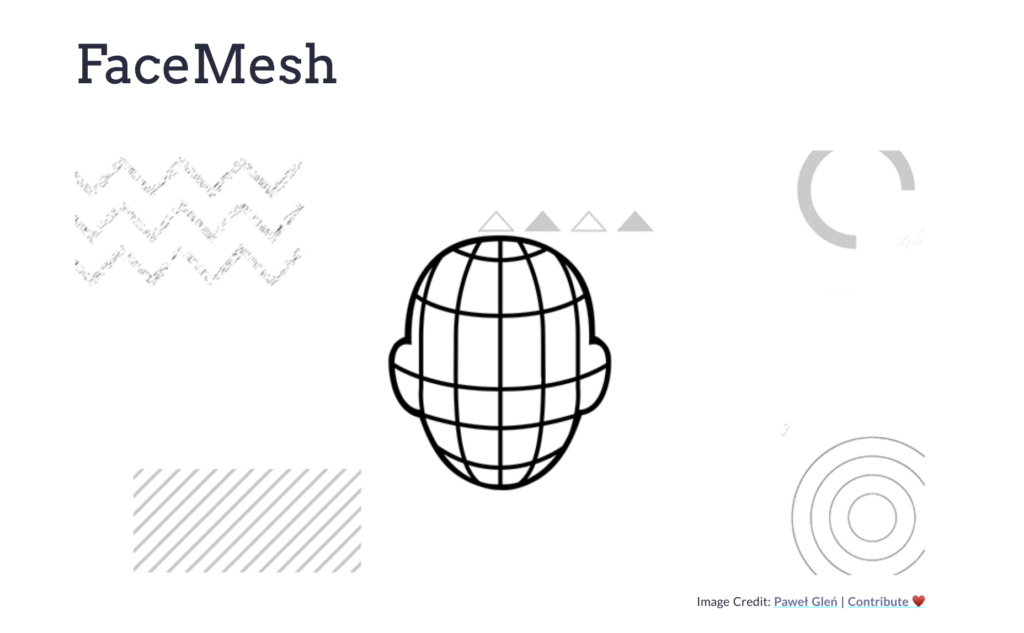
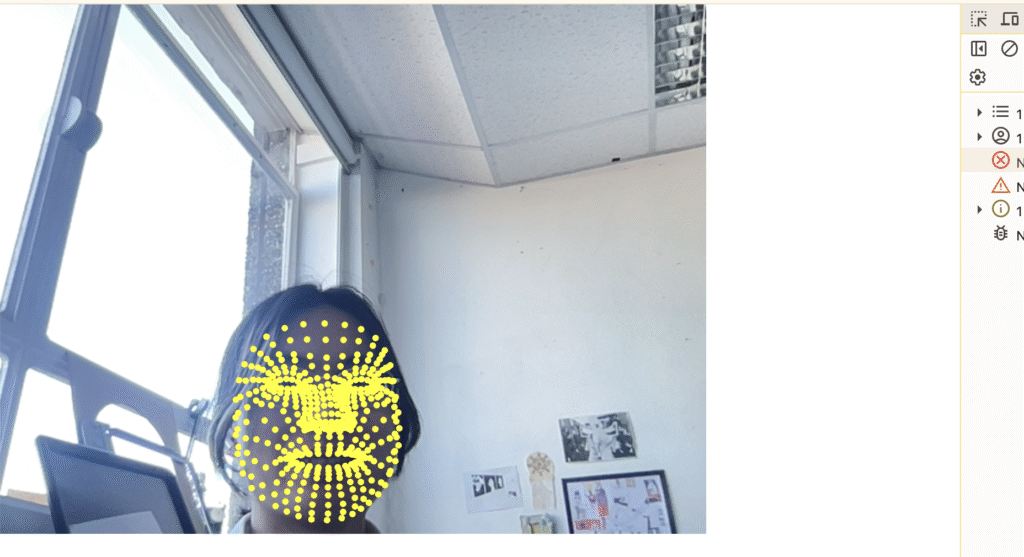
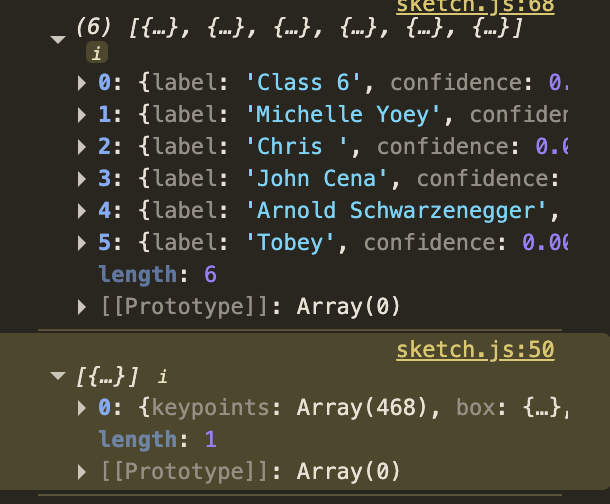
My code basically relies on Face Mesh in Ml5.js. Face Mesh, unlike Body Pose or Hand Pose, has the most tracking points of any ml5 model. There are 468 in total. So what I’m going to do is just try to go ahead and initially try to use the code myself to see how it works. I’ve combined the examples on the ml5 site with some things I’ve learnt myself, and tried calling the model first, and then trying to draw a circle around each vertex to make them more visible. The results are good, the tracking is stable in the webcam frame, and thanks to the large number of tracking points, details down to the eyes, eyelashes, lips and those parts are not lost when I turn my head to different angles.
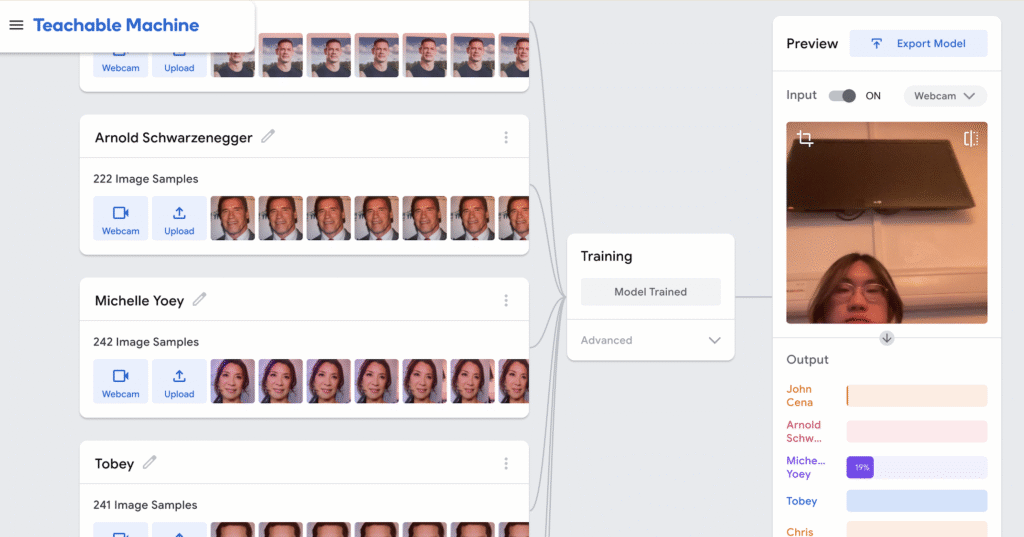
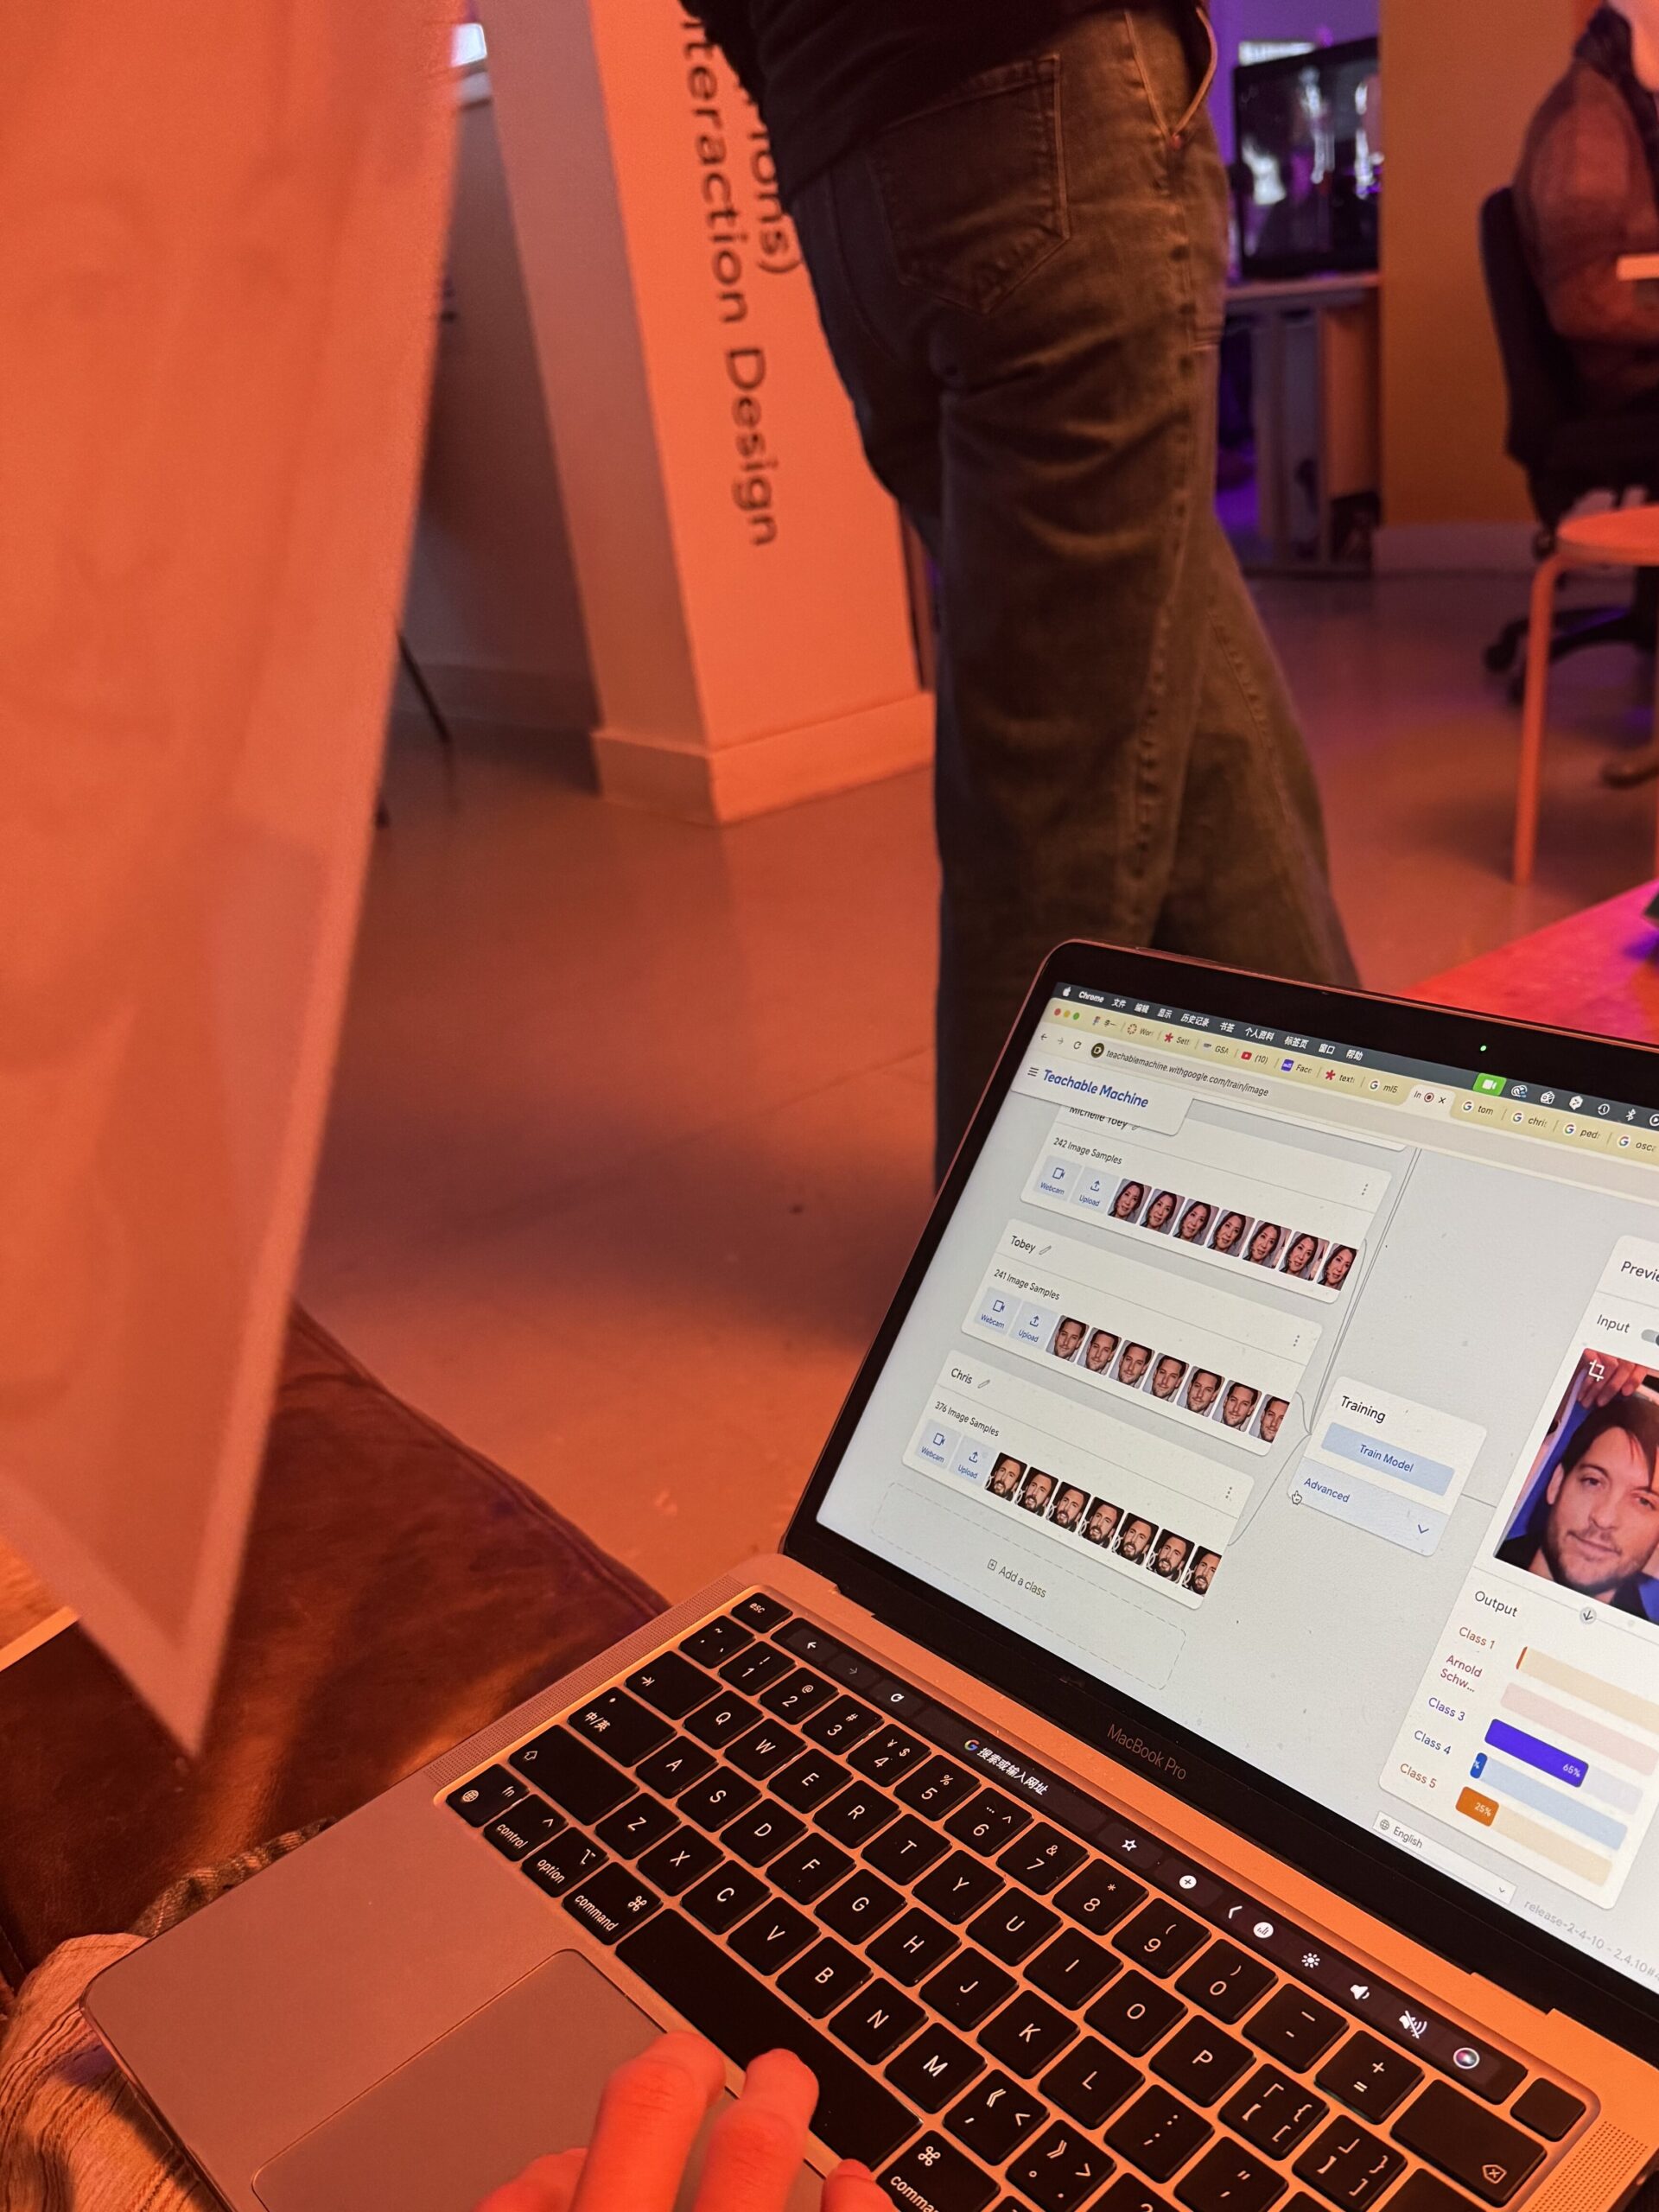
The next thing I needed to do was to start training my Teachable Machine, I picked six different celebrities, not at random, but with as many different features as possible – gender, skin colour, features, even hair colour. The main reason for this is that the TM is not really doing ‘face recognition’ on the images you give it, but rather analysing them based on the pixels it recognises, in other words it doesn’t realise you’re showing it a ‘face photo’. So I wanted to make the differences between the images obvious. I picked three different angles for each celebrity and pointed them at the webcam for TM to recognise. Six celebrities seems to be the maximum number, as it already takes a lot of time for the TM to finish the training.

After completing the training of the Teachable Machine, the next part is to combine it with Face Mesh. I needed to use a picture of a celebrity as a texture and attach it to the viewer’s face. To do this, I’m going to use some different functions. ml5’s sample code shows exactly how to do this, which is handy, but I’m going to need to make some changes to it to make it more relevant to what we’re trying to achieve.
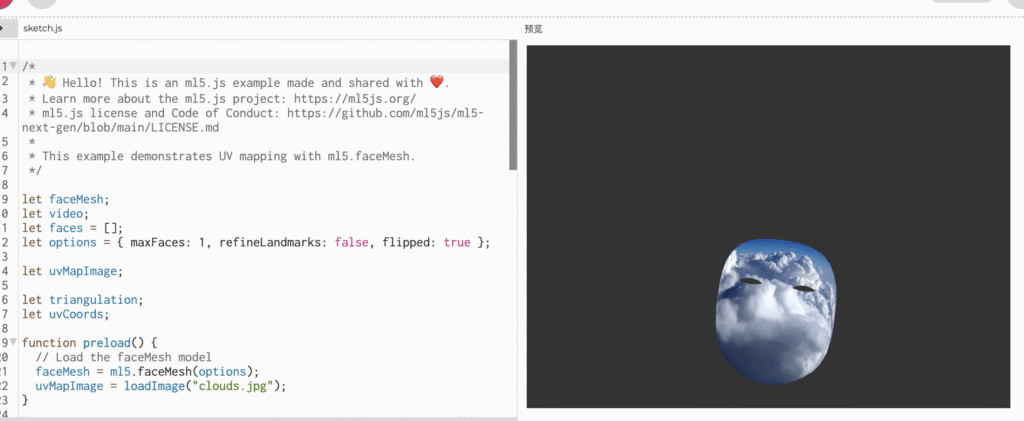
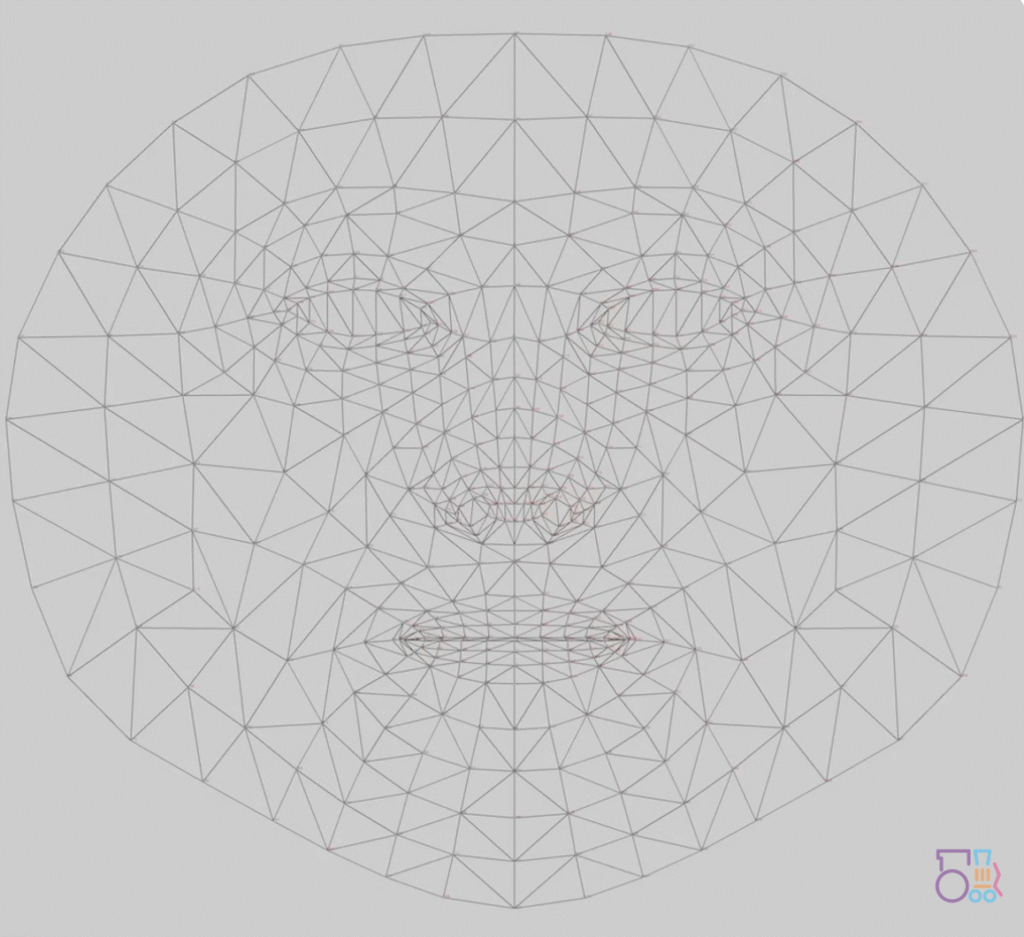
Basically the main few functions are get uv coordinates and triangle, and texture. the principle is actually quite simple, but it took me some time to figure it out. If we concatenate every vertex on Facemesh, we get a UV map like this (below). Just like we attach a material to a model when we do 3D modelling, we fit the UV with a picture and replace it. But this process is not so intuitive in P5js, if we split this whole big UV map, we will see that it is made up of many triangles of different sizes, and each triangle is made up of three vertices in close proximity to each other. Think So the whole process of ‘attaching material’ is more like you are using different parts of a picture to fill these triangles with different sizes. So we need to split the whole mesh into triangles, and we also need the exact coordinates of the UV points, which is where the two functions above come in. texture is a very simple function, and as the name suggests it controls the pattern of the texture image, how it is expanded, how it is replaced, and how it is drawn on the canvas.
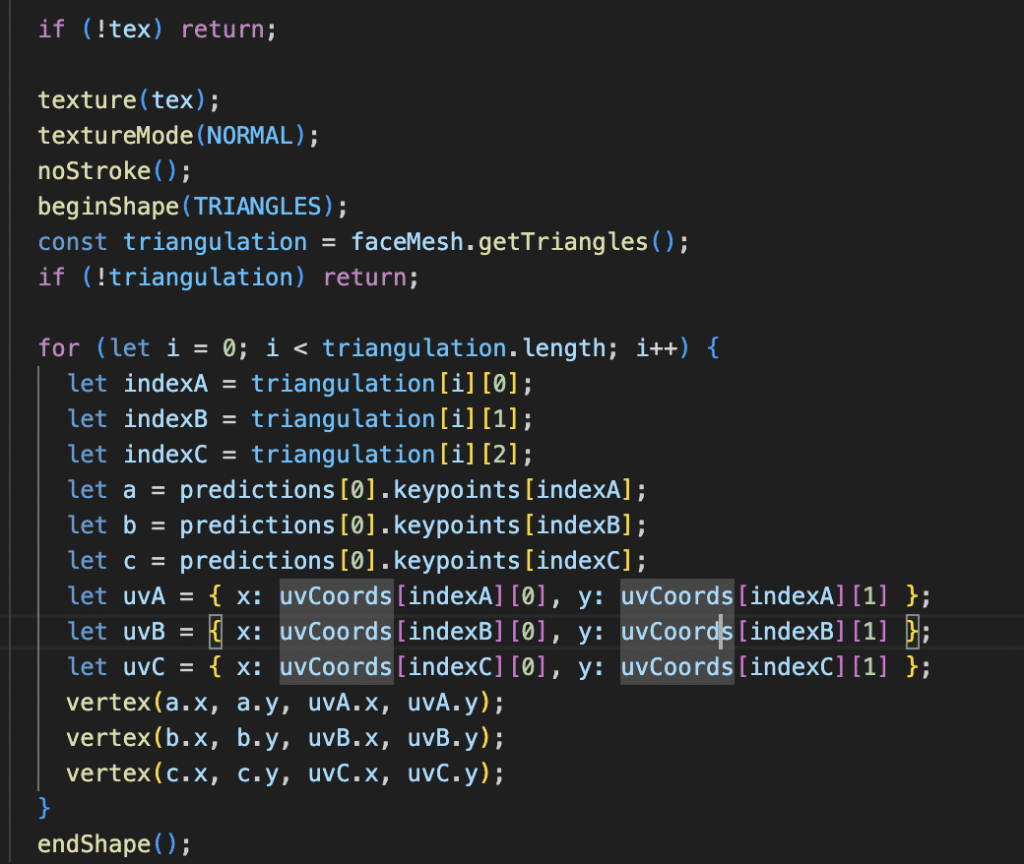
Also, since we set up Webgl and invert the camera, we need to make sure we Translate each specific value before p5 paints.
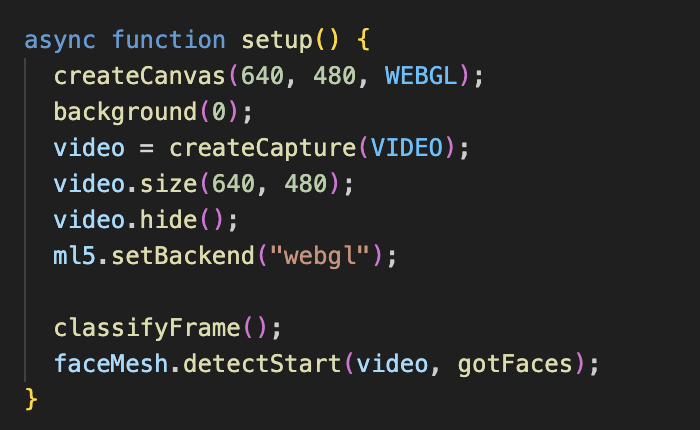

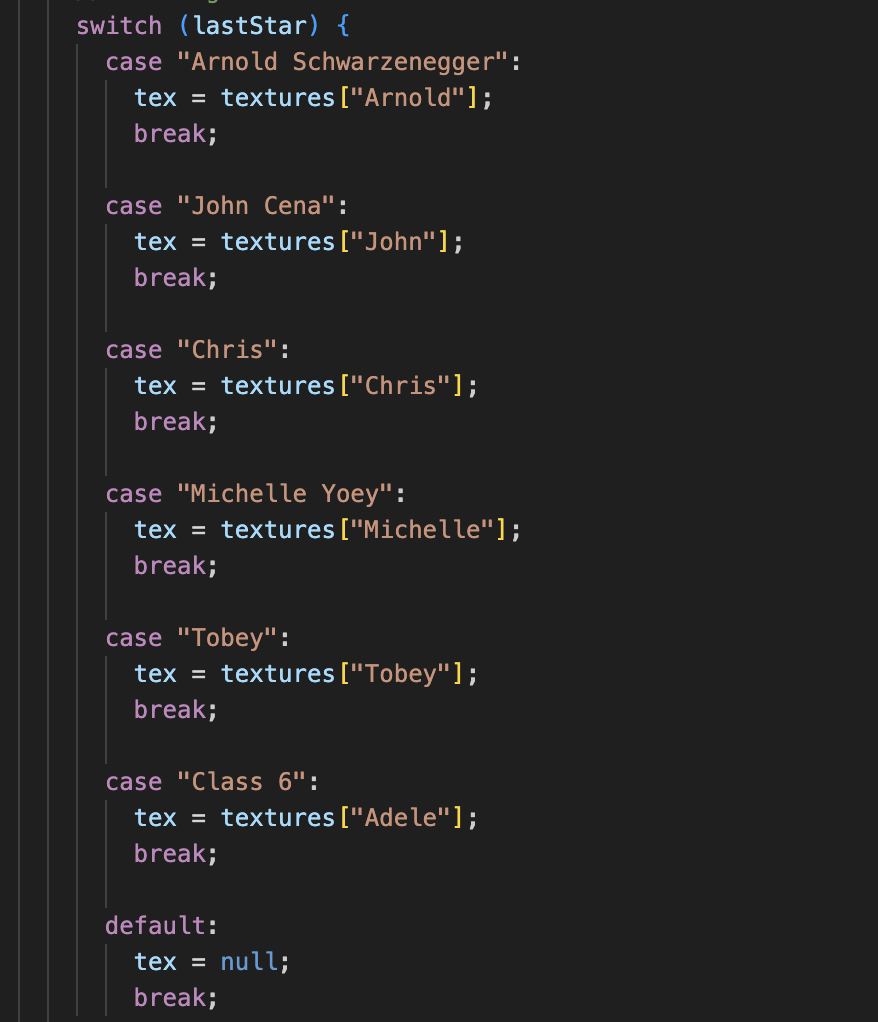
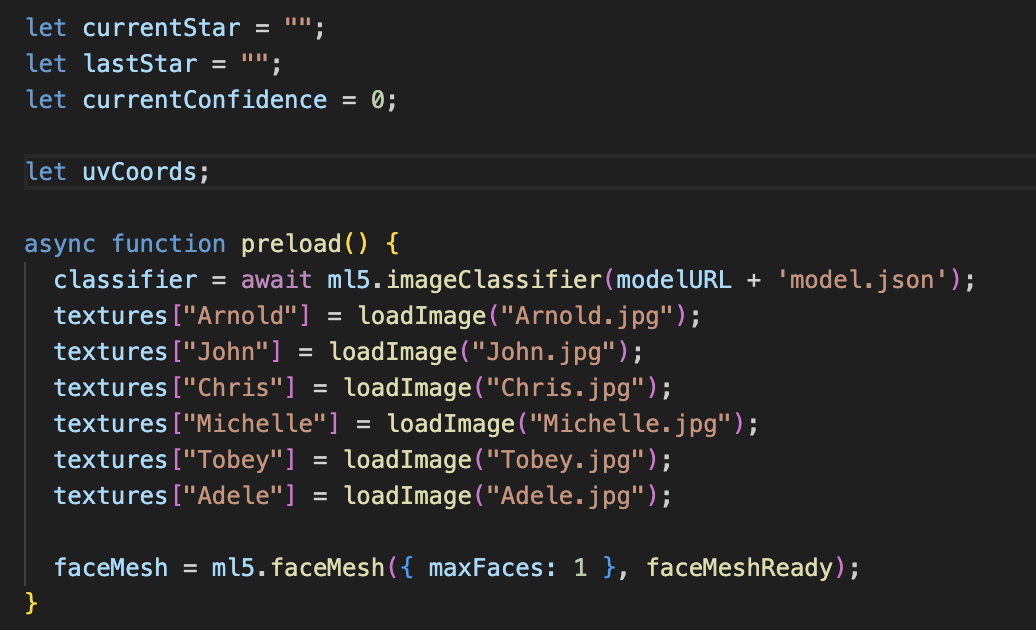
And then there’s the last part which is putting our Teachable Machine into our code. So that P5js can get and classify the data from TM to change the different celebrity photos pasted on our faces. This part isn’t that difficult, it’s all covered in the Workshop, and putting the TM into Handpose isn’t that much different from FaceMesh. After preload, now we have 6 stars, that’s six Classes, so let’s set up 6 cases for it.
After optimising the code and doing some debug sessions, we were able to try and run the program. It works pretty well. To be honest I can’t really figure out how Teachable Machine determines this, maybe it’s something to do with distance, or maybe it’s the lighting, but it does show a different picture of a celebrity on each person’s face. One thing I can do to improve is that I should drag these photos and the uvmap into photoshop and edit them a bit so that the nose is nose-to-nose and the eyes are eye-to-eye. Right now the effect looks kind of creepy, but it’s still funny. So I’ll leave it as it is for now
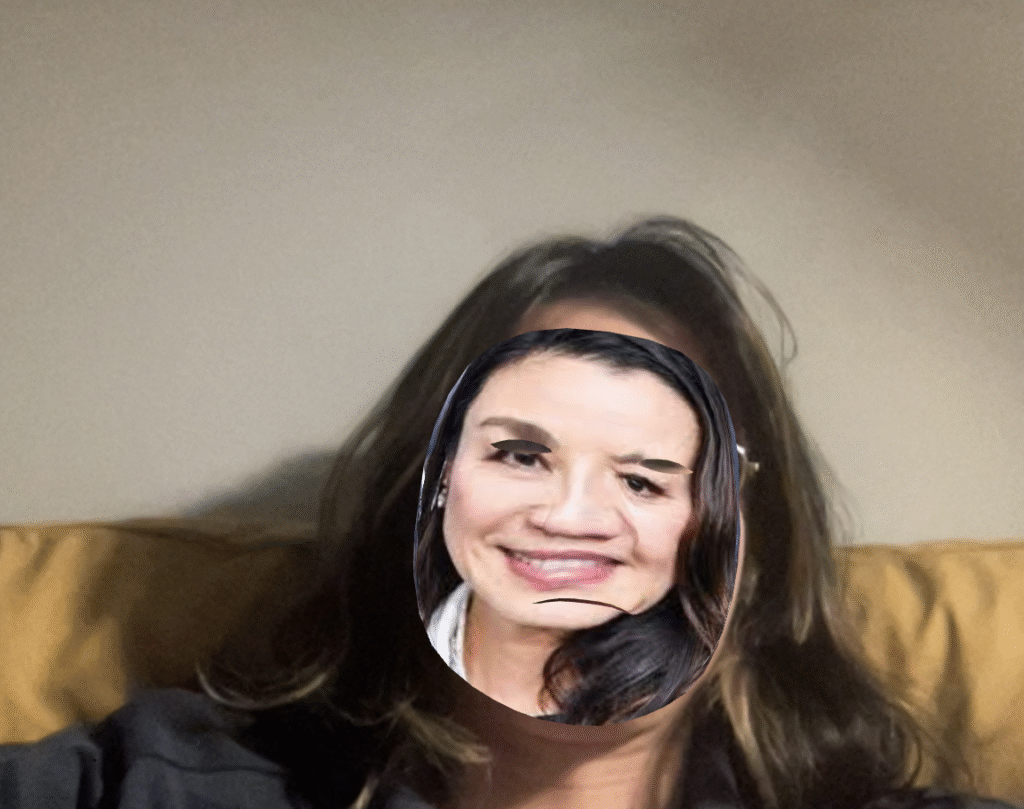

Totally confusing, sometimes I’m Michelle Yeoy and sometimes I’m Adele. is there any common ground between the two?🤔
As a prototype I’m happy with the end result. I really like the FaceMesh feature and I will absolutely continue to use it in the future. Honestly a lot of really cool ideas popped into my head when I first went to learn about it. But due to time constraints I wasn’t able to realise them all. So I used this project as an exercise to test the feasibility of a few things and to become proficient in the use of the code.
Cat mentioned something in the review that really got me thinking, and I think I’d honestly like to make the programme more ‘portable’ if possible in the future, rather than presenting it as an exhibition piece. Like a mobile app, a link that you can click on and use, or a filter in Instagram or Snapchat. I don’t want it to be serious in any way, I just want it to be fun.